
Are you looking for a fun and creative way to provide your pup with their own space? Building a DIY Dog House could be the perfect solution! With these 10 free DIY dog house plans, anyone can create a comfortable and secure home for their canine companion.
From basic structures to more elaborate designs, there’s something here for every skill level and budget. All you need is some basic building materials, a few tools, and some imagination to get started.
10 DIY Ideas For Dog House That Anyone Can Build
Building a dog house is an excellent project for anyone looking to provide their best friend with a safe, comfortable environment. Fortunately, there are plenty of DIY projects available to construct the perfect home for your four-legged companion.
DIY ideas for building a dog house range from utilizing simple designs that use basic materials like plywood and cardboard, all the way up to more elaborate projects using more expensive components such as cedar wood and tarpaper. Whether you’re a novice or an experienced builder, you can find ideas here that allows you to create a cozy and stylish place for your pup.
1. The Pallet Dog House
The DIY Pallet Dog House is a great DIY project for those looking to create something special for their pup. It involves taking two pallets (or one big one!) and securing them together with some screws and brackets to form the walls of the house.
You’ll need to source some pallets. They’re readily available at most home improvement stores and come in different sizes.
Step 1: Break down the pallets by unscrewing the boards with a drill or pry bar. Then assemble the wood pieces into planks of four and cut them to size according to the diagram.
Step 2: Don’t forget to add the flooring and roofing boards! Once all your planks have been formed and cut correctly, the walls should fit together snugly using nails for reinforcement.
Step 3: Now that your frame is complete, add insulation if necessary before securing cladding on top of it for added protection from the elements.

2. The Basic A-Frame Dog House
Building your own DIY A-Frame Dog House can be an easy and enjoyable project! All it requires is some basic construction materials, tools, and a little bit of time. You’ll begin by creating the base frame in the shape of an A, typically with two side panels and one back panel.
Step 1: You’ll want to measure and cut two plywood sheets for each side of the frame. Secure the boards together using wood screws and wood glue.
Step 2: Once assembled, add three more support beams for stability and rigidity. To make it look nice, use some paint or sealer to weatherproof the doghouse’s exterior.
Step 3: For extra insulation, line the interior with straw or cotton batting before adding some wooden slats as a finishing touch.
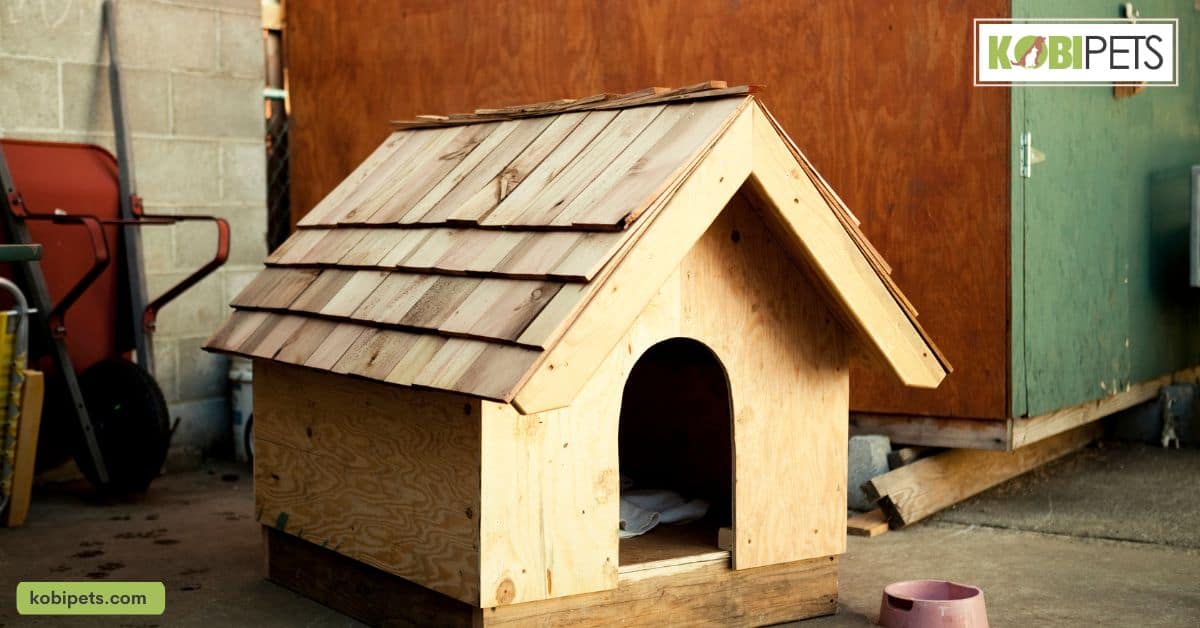
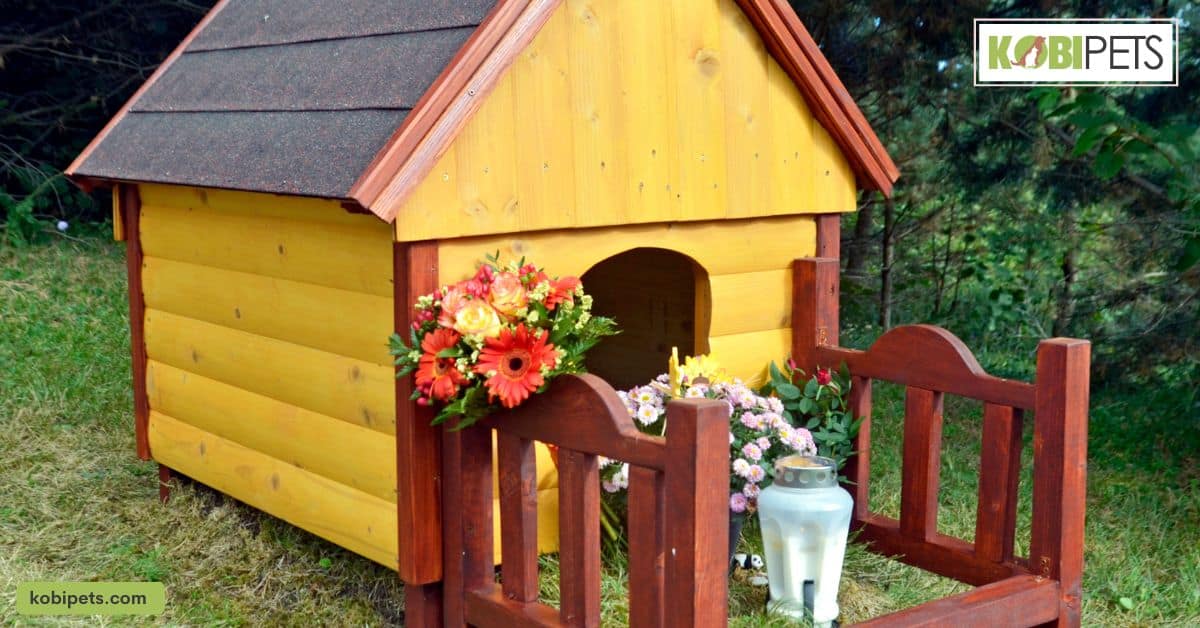
3. Wooden Dog House with Porch
Building a DIY wooden dog house with a porch is a rewarding and therapeutic experience. Not only will you have the satisfaction of knowing you created it yourself, but the project will also give your pup their own outdoor space to enjoy while still having you nearby.
Depending on your carpentry skill level, the build could take from half a day to three days. The construction process should be fun, not too difficult, and lead to an attractive finished result where your pup can happily rest their head outside!
Step 1: Draw an outline of the dog house structure including the porch. Measure and cut wood accordingly and compile all parts together by hammering in nails.
Step 2: Once the basic structure is ready, use two sheets of plywood to cover all sides of the dog house except for one side that faces the porch.
Step 3: Cut out windows on all four sides as per requirement and attach them to their respective openings using glue or nuts and bolts.
Step 4: You can paint or decorate the finished dog house – or leave it in its natural finish – depending upon your preferences.
Step 5: Finally, add one or two porches to provide shade and place it in a suitable area where your furry friend can relax!
4. The Igloo-Shaped Dog House
Building your own DIY Igloo-shaped Dog House can be an incredibly rewarding experience for both you and your pup. The project requires a moderate level of DIY skill, with minimal tools and effort.
All you need is a jigsaw, saw, hammer and nails, waterproof glue, wood sealer, paintbrush, and yardstick. For the materials, you’ll need wood boards, fire-resistant insulation panels or straws, and some type of roofing material such as shingles or corrugated steel.
Step 1: Measure the perimeter of where you want to locate the house then cut out a circle from each side of the wood boards using a jigsaw.
Step 2: Assemble the four circles together using waterproof glue then apply a sealant onto all surfaces that will come in contact with your pet’s fur.
Step 3: Once done, add fire-resistant insulation panels around the edges of the igloo frame and secure them with nails.
Step 4: Lastly, install your choice of roofing material onto the top frame before adding a few coats of paint to make sure it matches your backyard decor perfectly.

5. Breezy Dog House
Building a DIY Breezy Dog House can be an incredibly rewarding and fun experience, regardless of DIY level. Starting with a solid plan and the right materials, you will have your pup’s perfect house in no time.
Step 1: Start by finding a flat surface to work on and obtaining the necessary lumber.
Step 2: Once all materials have been gathered, cut 4 sides of the house – 2 long pieces that form the base and 2 short sides that form walls – then assemble them with screws and glue until it forms a box shape.
Step 3: Next, attach the roof trusses before adding asphalt felt to protect against moisture.
Step 4: Add shingles for extra protection, line the interior with insulation, and install a door in one of the walls; don’t forget to sand down any rough edges.
6. Insulated Dog House
Building an insulated dog house can be a DIY project with amazing benefits for your pup. The best part is that anyone with basic DIY skills and tools can build it! If you’re willing to spend some time on the task, insulation is essential to make sure your pup gets through the hot summers and cold winters in comfort.
Step 1: First, locate plans for the size of the house your pup needs. Once you have obtained the appropriate plans to follow, cut out the plywood boards using the saw according to the specifications of your plan.
Step 2: Assemble all sides together using either nails or screws. Make sure to also make holes in each side panel so that it creates airflow in the summertime and keeps warmth in the wintertime.
Step 3: Then add insulation to both floors as well as all the walls before adding a roof. Finally, consider painting or staining the dog house to make it extra attractive while protecting it against whatever nature has in store.
7. Indoor Dog House
Building an indoor dog house is a DIY project that, with the right materials and tools, can be completed within a few hours. Depending on the size of the dog, wooden boards and panels are used to form a basic frame, which is then filled in with panels like Masonite or plywood for structure.
Step 1: To get started, you’ll need some basic tools such as saws and power drills, as well as materials like wood, screws, and nails.
Step 2: Measure the space you are working with and draw up a design plan that takes the size into account.
Step 3: Cut the pieces of wood to the right sizes and create panels for the floor, walls, and roof. Join these together securely with screws or nails and then sand down any rough edges.
Step 4: Once everything is in place, you can use paint or other decorative accents to customize your dog’s new home however you like.
8. Double Door Dog House
Building a DIY double-door dog house can be a fun and rewarding experience. With the right materials and tools, it’s not too hard that even novice DIYers will be able to accomplish it in no time.
Step 1: You will want to measure the area so that you know the exact dimensions of your pet’s new abode.
Step 2: Cut two pieces of lumber and plywood, one for each wall panel as well as a piece for the roof.
Step 3: Once all the main pieces have been cut and assembled, use screws to secure them in place.
Step 4: It’s time to finish up any windows or vents you choose to add with nails and caulking where necessary.
Step 5: Finish by adding shingles onto the roof followed by painting or staining the entire structure before attaching a comfortable bedding inside for your fur baby.
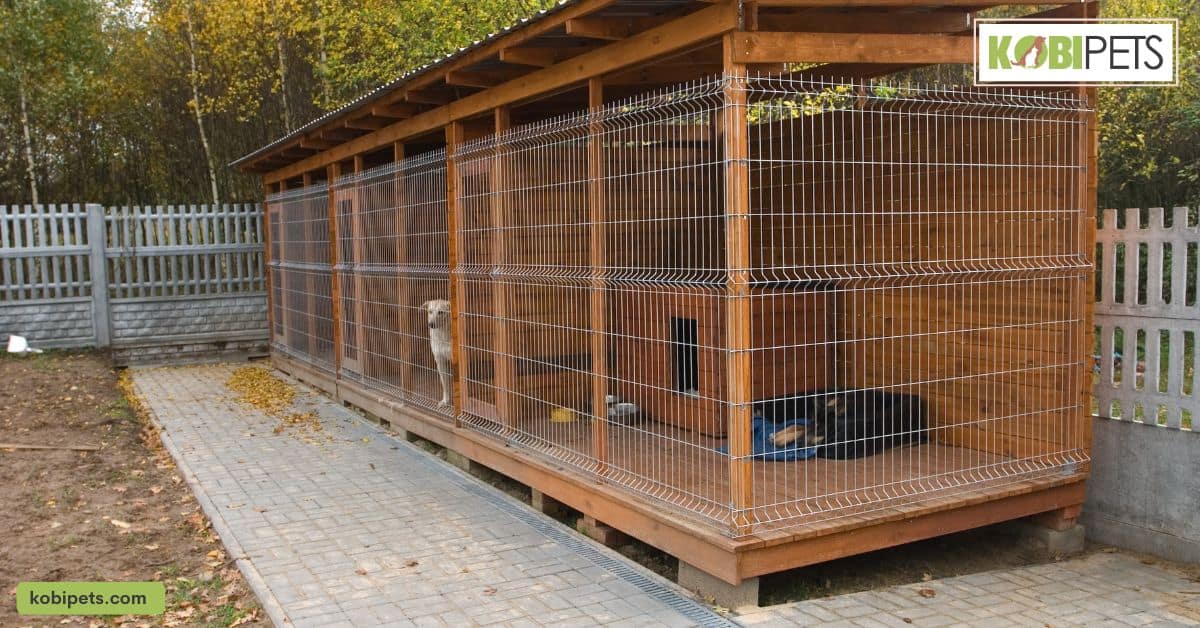
9. Dog Run with Attached Dog House
Building a DIY dog run with an attached doghouse is a great way to give your furry companion more space to stretch their legs and get some well-deserved fresh air.
Step 1: It’s important to consider the size that your dog needs– this will ensure they have adequate space to move around and feel secure.
Step 2: Measure the space you have available, then plan out what materials you need — such as poles, wire mesh, and boards — and the amount of each.
Step 3: Assemble the frame by connecting all of the poles to create a structure with gateposts at both ends; make sure everything is aligned before attaching it to the ground.
Step 4: Stretch the wire mesh between these posts using tie wires every few inches for added stability.
Step 5: To build a doghouse, determine its dimensions based on your dog’s size, cut out accordingly and assemble its walls together before applying paint or sealant if desired.
Step 6: Finally, attach this structure securely within the run and finish off with sand or soil for your pup’s comfort.
10. Dog House Under The Stairs
Building a dog house under the stairs can be a rewarding and relatively easy project! It takes basic carpentry skills, some tools, and a few days of hard work. With careful planning, cutting, and assembling, you can create a comfortable home for your pet in no time!
Step 1: Measure the space under your stairs carefully, so you know how much room you have to work with.
Step 2: Draw the plans for the dog house and make sure you follow planning regulations if necessary.
Step 3: Cut out the pieces according to the plans using saws and other tools, then assemble them together using nails, screws, and glue.
Step 4: Coat it with waterproof paint or varnish so that it will be weatherproof as long as possible.

Benefits of Building a DIY Dog House
Dog owners everywhere understand the importance of providing a safe and comfortable living environment for their four-legged friends. Building a DIY Dog House is an excellent way to give your pup the perfect place to relax, while also saving money and learning a new skill.
Not only will you get to customize the size, shape, and design of the house, but it also provides an opportunity to bond with your furry companion. From selecting materials to painting the finished product, constructing a dog house together can be both a rewarding and exciting experience!
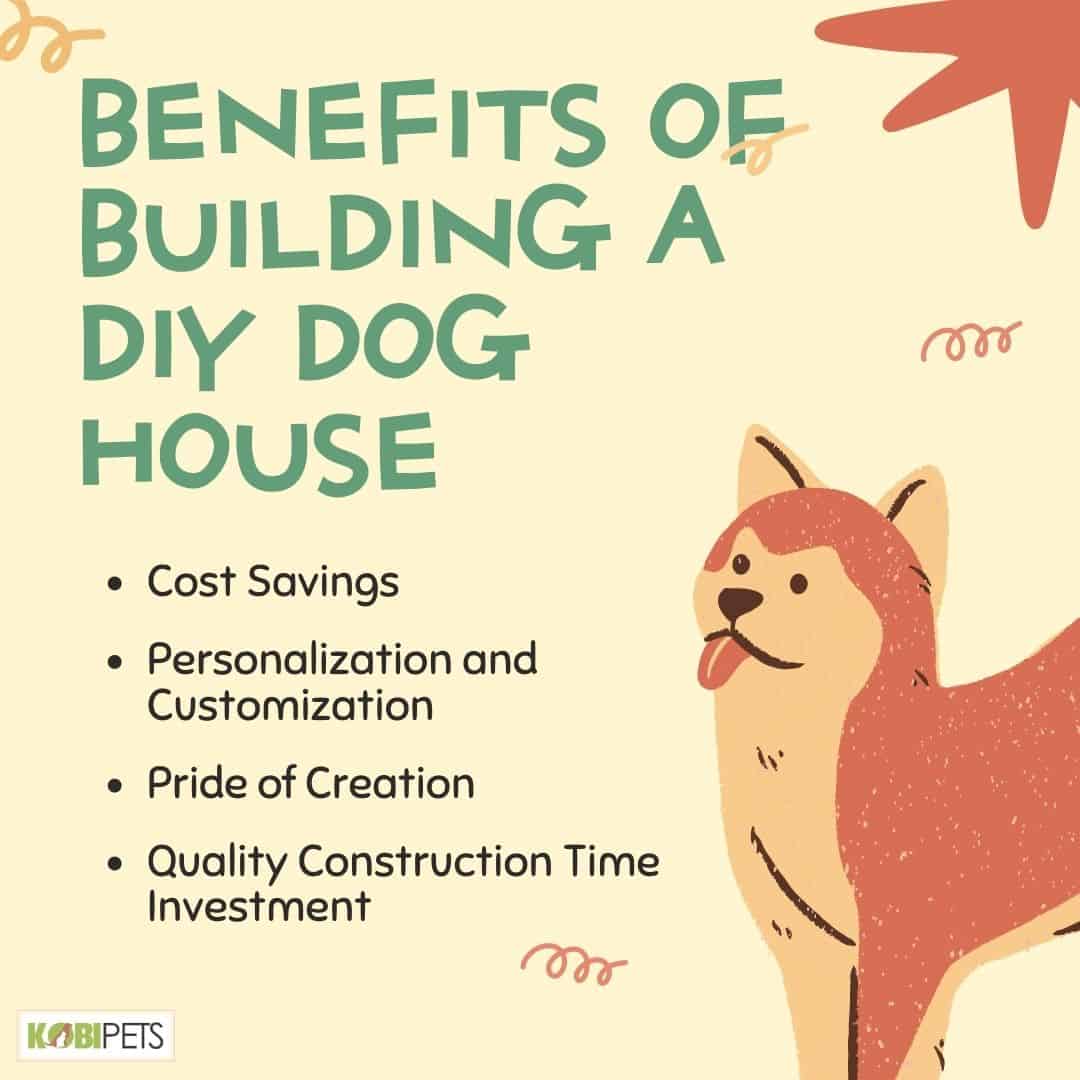
Cost Savings
Building a DIY dog house can provide numerous cost savings and other benefits. Not only will the project require fewer materials, but the availability of pre-cut parts and pieces often makes the process faster as well.
Constructing a dog house yourself also allows you to select decorative features unique to your pet’s needs. Additionally, you may choose lighter-weight materials for a mobile home or stronger components for increased stability.
This DIY project presents an economical alternative to buying a prebuilt house with savings that can extend beyond simply reducing material costs.
Personalization and Customization
Building a DIY dog house gives the benefits of personalizing and customizing it to meet the exact needs and desires of both the pet and the owner. With this level of control over the material, size, style, and design, a do-it-yourself dog house can be created that is perfectly suited to any type of living space.
This could feature more than one door for easy access or extra insulation to provide maximum protection against the elements. Additionally, since there are no specific materials or tools needed prior to starting construction, customization can be done in whatever way is most convenient depending on location and available resources.
Pride of Creation
Building a DIY dog house provides an incredibly rewarding task for dedicated pet owners. Not only does it provide your four-legged friend with a comfortable refuge from the elements and form part of its everyday needs, but it also fosters the pride of accomplishment that comes from making something entirely of your own design.
You get to flex your creative muscles and experience the satisfaction that comes from constructing a one-of-a-kind home intended solely for your pup’s enjoyment. Plus, you’ll save money in the process!
Quality Construction Time Investment
Building your own dog house is an incredibly rewarding experience and one that is certainly well worth the time invested. It teaches valuable carpentry and design skills, encourages creativity, and ultimately offers the best assurance of the highest quality construction for your trusty pup.
Working with your hands to construct a shelter for a beloved pet reinforces the feelings of pride, satisfaction, and connection that come from building something of great value.
Plus, if you are any level of a DIY enthusiast, there just isn’t anything quite as fulfilling as you can get by investing your own time into building something special with your own two hands!
In Conclusion
Building a DIY dog house can be a great way to provide your pup with its own cozy and stylish place to call home. Not only does it offer cost savings over pre-built houses, but it also enables you to customize and personalize the construction process according to your pet’s needs.
In addition, learning the necessary carpentry skills and investing time into creating something special for your furry friend can be incredibly rewarding. With the right materials, tools, and plans, you’ll be able to craft a sturdy dog house that will bring joy to both you and your pup for years to come!


